Hey everyone! I've had a great time sharing walks along the water and other outings with you lately, (if you missed anything you can scroll down or go
here and
here and
here).
I'm so thankful that you've stuck with me through my
trials and tribulations with Blogger, which has been giving me headaches these past few weeks. I hope by the time you read this all of that will be behind me....
I realize it's been awhile since you've seen any kind of projects around here so I thought I'd get back at it!
Today I will show you the remodeled guest bath.
Remember, our house was built in 1979.
Hence the textured white tiles, installed with dark grout. That was all the rage in the late 70's and 80's. Imagine that counter-top above honey stained oak cabinets, with striped wallpaper and a boat wallpaper border running just below the "popcorn" sprayed ceilings.
So unattractive.
Before we moved in I had all the cabinets and most of the other oak wood in the house painted white to freshen and update everything. It helped a lot, until we could make the final improvements to each room.
There is still
a lot more to do around here, but today I'm showing you what we
did get done!
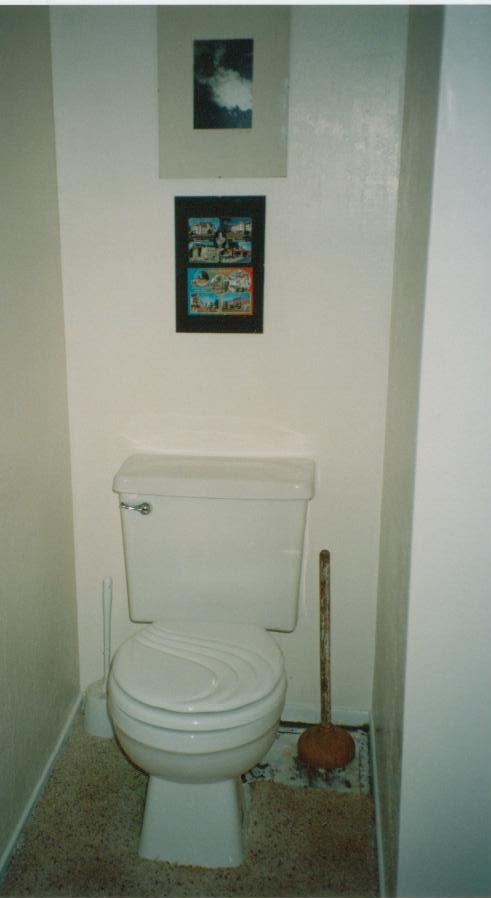
This is how the guest bath looked when we first moved in. (
Before I started blogging I didn't take as many
before pictures, so this is all I've got. You just have to trust me when I say this room was BAD.)
But we lived with it for awhile, and figured out what worked and what didn't.
Just about everything except the size of this room
didn't work.
There was one sink on an extra long counter with a sort of dressing table area on one side, where the vintage suitcases are stacked up. (I still have those just not in here!) I replaced the builder's mirror that had originally covered this entire wall with a smaller one when we moved in, and it's the same one we're using in there now.
There was only one dinky light fixture and no tub or shower.
There was this lovely space on the other side.
Nice.
The bathroom was very large, but it was ugly and outdated.
We ripped everything out and started from scratch.
This is what we ended up with:
AFTER:
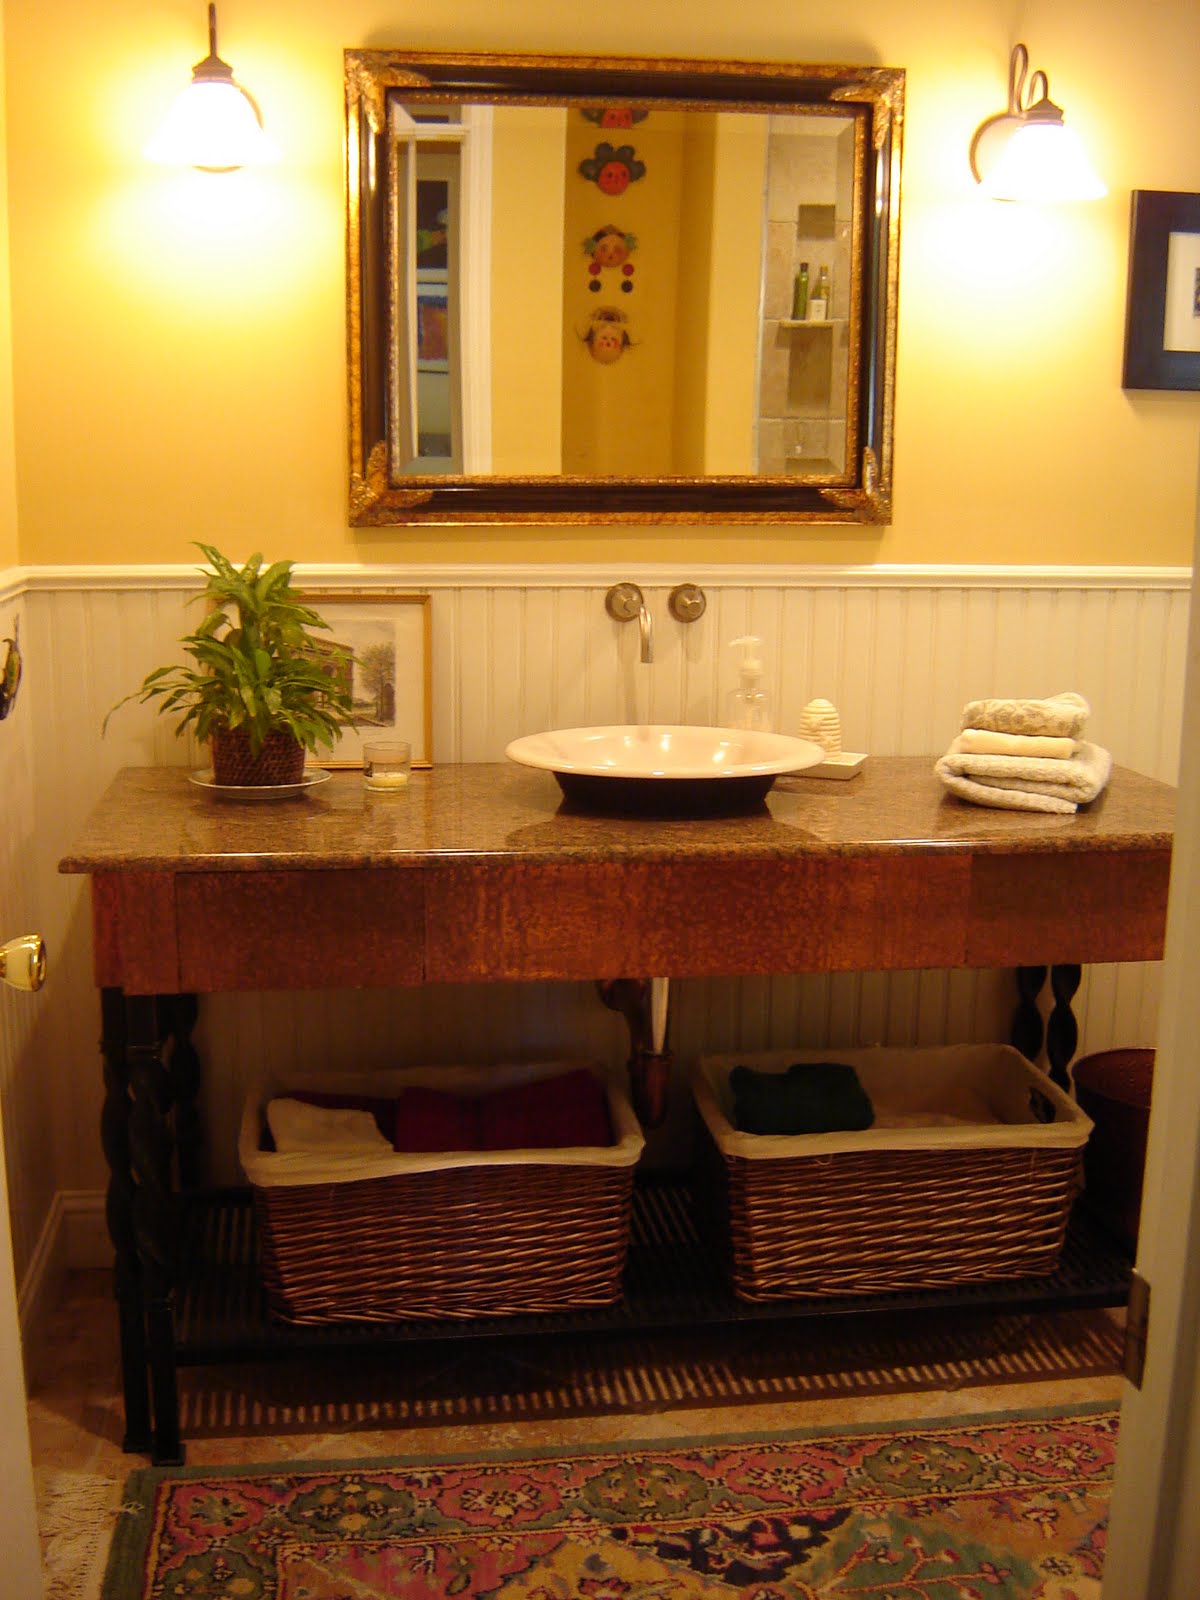
We added beadboard, tumbled travertine stone floors, warm paint,
a custom counter with a hammered copper apron,
and cast iron vessel sink
We relocated the new potty,
and installed a stone tiled shower for our guests in the old toilet's enlarged space.
We improved the lighting with several options and dimmers on the switches.
The bathroom counter was custom made and has two concealed drawers in the front apron.
I hammered the copper myself.
It was a great way to get out my frustration, and I love how it looks.
I don't keep the copper polished, just let it do it's thing and it has a nice patina now.
Did I mention how much I love copper? I truly do!
Some details, up close:
The mirror frame:
The copper and iron counter with granite top:
Storage baskets beneath the counter contain extra towels.
Better than this:
Or this:
Don't you agree?
Finally, this room is done, with the addition of the roman shades I made not too long ago.
You can see more of those and get a step by step tutorial by
clicking here.
That's it, the finished guest bath. It's new and fresh.
There is still plenty of room.
There is a shower and low-flow toilet.
We like it, and I don't even have the slightest urge to change anything in here yet.
Except for maybe the paint color which isn't really this dark in person,
( I'm leaning towards pale blue or some silver...)
and I did see a different vessel sink I really like...
But I won't go there....at least not for awhile!
Thanks for stopping by. Stay tuned for more ahead.
If it would just stop raining I'd get some of my other, pending projects painted and finished.
But until then I'll just be clicking away at the computer and visiting with you my blogging friends!
Leave me a comment and I'll drop by as soon as I can.
Click on Home or here to see my latest Wednesday Gratitude post, and take a walk on the beach with me! Until next time,
XO
Heidi
This is being linked to :
Thank you ladies!