Showing posts with label DIY DAY. Show all posts

Monday, June 14, 2010

The New-To-Me Bookcase, Finally! at Heart and Home


Hey all! Did you think I had fallen of the face of the earth?
 Well, no. It's just been very busy around here the past few days.
Got the youngest through her middle school celebrations
and off on her East Coast class trip,
and despite migraines the past four days  
 I finally finished something I've been working on for a long time.

Inspired by this at Ikea:


I purchased this at Goodwill:


Because I couldn't handle these stacked under the hall table in the entry anymore:


or loaded up in this basket:


Or smooshed in the wicker etagere in the living room:


Things had gotten out of hand in this book loving household!


Way out of hand.


I did a little rearranging, and moved the Dr Seuss plant out.


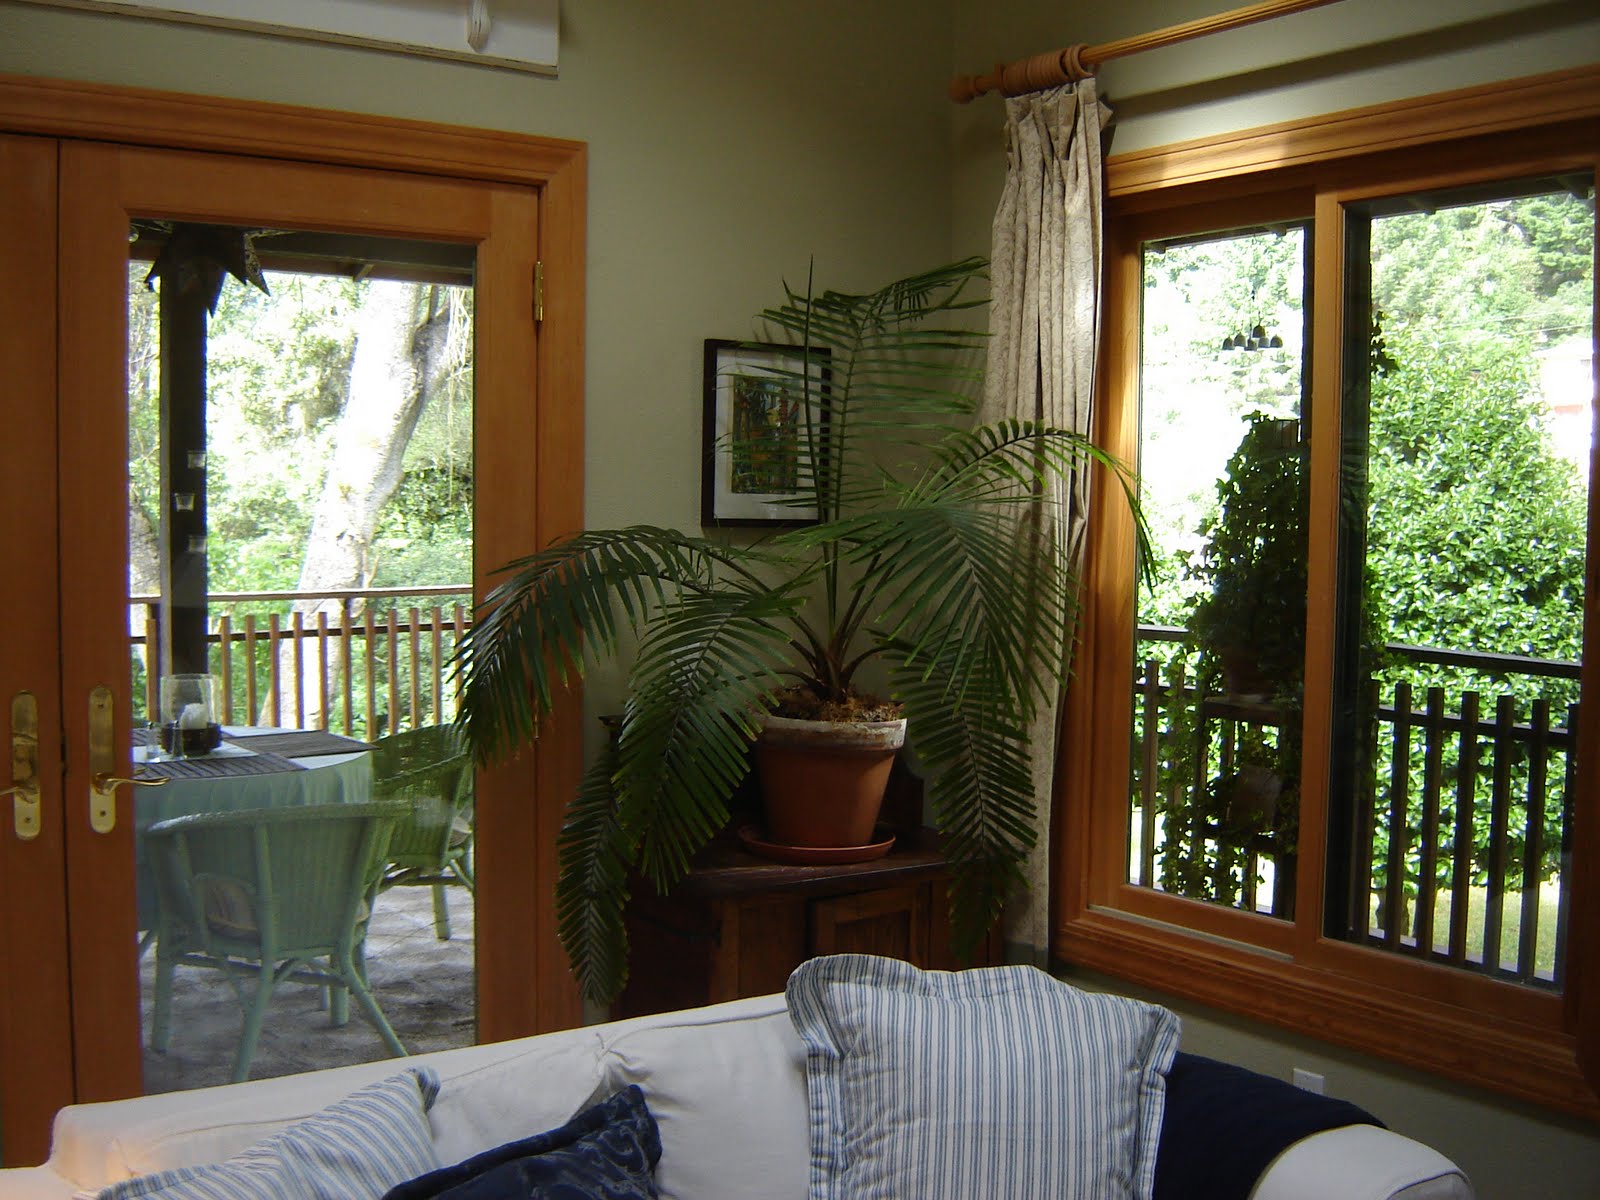
and moved the palm and the vintage wash-stand over here:


from here, where the new-to-me book case moved in.


On this lovely, blank wall in the living room.


But first I had to gather all the books:


and straighten out what was staying put:


and bring this baby in to the house (easier said than done, I can tell you that.)
Thanks to my strong and determined husband, the shelves are in place,
with only minor damage to the paint and no pulled muscles.

BEFORE:


AFTER:


I've got an improved reading spot.


And a much improved living room!


With room to expand, because there are four shelves just waiting for books!
I think the room looks very grown up now, don't you agree?

Now, it's on to the office, which is overflowing with more books, books, books.
But that's a project for another day.
Today I'm going to enjoy the grown-up living room, and have a little sit-down in my reading chair, with a new book and a cup of tea.
It's the grown-up thing to do!

If you like what you see here, why don't you follow along, or subscribe for e-mail updates. Heart and Home will be there for you, instantly, at every new post. EASY!!!
Thanks for stopping by!
Until next time,
XO
Heidi
I'm linking to  Trash to Treasure Tuesday, Three or More Day, Transformation Thursday,
Thrifty Thursday And Show and Tell Friday. Thanks ladies for all these great parties!

Monday, May 17, 2010

For the Birds at Heart and Home

I had some time to start and even finish a few projects around here this weekend! I love it when I can mark something off my list.

Are you like me? Do you have lists and lists of things you hope to accomplish?

If a project you just finished wasn't already on the list, do you add it to the list just so you can cross it off? That, my dears, is what I call "list obsession".  And I've got it, BAD!!

Anyway, one of the things on my list was to turn these:


Into this:


Which I did by using this:


Gorilla glue is every one's go-to glue! It's pretty tough stuff! I bought some to try since we had never used it before.

In addition to the plate and bowl which I found at the drug store for $1 apiece, I purchased  a 4 foot length of 1/2" copper pipe and an end cap to fit.  I glued the end cap to the center of the plate

Then my husband clamped it together for me for about one hour.


Then we glued the footed bowl to the plate, and when the glue was dry I popped the whole thing onto the pipe (that's what the end cap is for).
A super easy, and instantly gratifying project. The birds were dining at their new cafe' in a few hours.
The drying and waiting took the longest, and waiting is always hardest for me!


I think this is a cute addition to the front garden.
The birdies like it, too!
I've seen scrub-jays, robins, and tiny little finches eating their dinner here just in the last few hours.


Mission accomplished, and crossed off the list!

An urgent request, which my friend Kelee Katillack asked me to share with you regarding the oil spill on the gulf coast:
Will you join me in a 30 minute on-line prayer and positive energy vigil this Wednesday night? All you have to do is send your thoughts out, during this time, for a Divine solution to this global emergency... for more information go to the Katillac Shack and read Kelee's post.

I will be joining Kelee in the vigil on Wednesday, and hope you will also find a way to participate. Together, I believe we can make a difference!


I'm linking to DIY Day at A soft place to Land, Trash to Treasure Tuesday at Reinvented., and Thrifty Treasures at Tales from Bloggeriteville.
Thanks Kimba, Kimm and Leigh!

Until next time,
XO
Heidi

Monday, May 10, 2010

Guest Bathroom Remodel at Heart and Home

Hey everyone! I've had a great time sharing walks along the water and other outings with you lately, (if you missed anything you can scroll down or go here and here and here).

I'm so thankful that you've stuck with me through my trials and tribulations with Blogger, which has been giving me headaches these past few weeks. I hope by the time you read this all of that will be behind me....

I realize it's been awhile since you've seen any kind of projects around here so I thought I'd get back at it!


Today I will show you the remodeled guest bath.

Remember, our house was built in 1979.

Hence the textured white tiles, installed with dark grout.  That was all the rage in the late 70's and 80's. Imagine that counter-top above honey stained oak cabinets, with striped wallpaper and a boat wallpaper border running just below the "popcorn" sprayed ceilings.

So unattractive.
Before we moved in I had all the cabinets and most of the other oak wood in the house painted white to freshen and update everything. It helped a lot, until we could make the final improvements to each room.

There is still  a lot more to do around here, but today I'm showing you what we did get done!

This is how the guest bath looked when we first moved in. (Before I started blogging I didn't take as many before pictures, so this is all I've got. You just have to trust me when I say this room was BAD.)

But we lived with it for awhile, and figured out what worked and what didn't.

Just about everything except the size of this room didn't work.


There was one sink on an extra long counter with a sort of dressing table area on one side, where the vintage suitcases are stacked up. (I still have those just not in here!) I replaced the builder's mirror that had originally covered this entire wall with a smaller one when we moved in, and it's the same one we're using in there now.

There was only one dinky light fixture and no tub or shower.


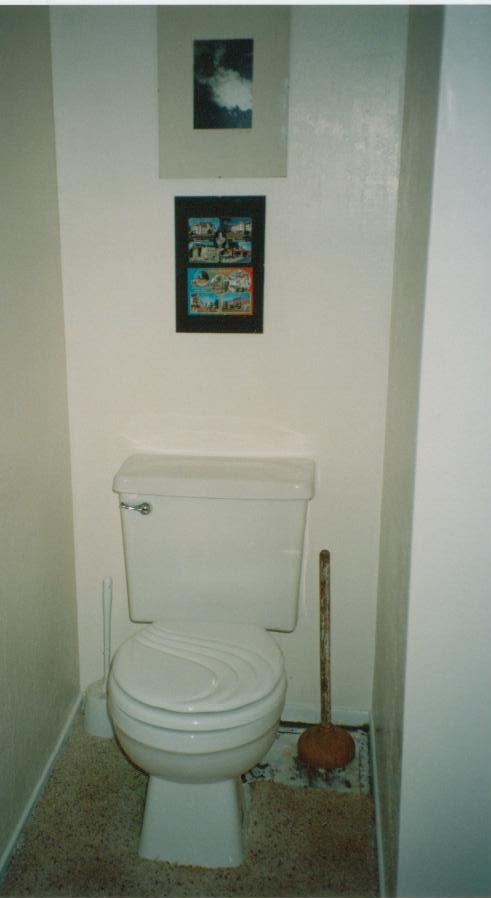
There was this lovely space on the other side.
Nice.


The bathroom was very large, but it was ugly and outdated.

We ripped everything out and started from scratch.

This is what we ended up with:


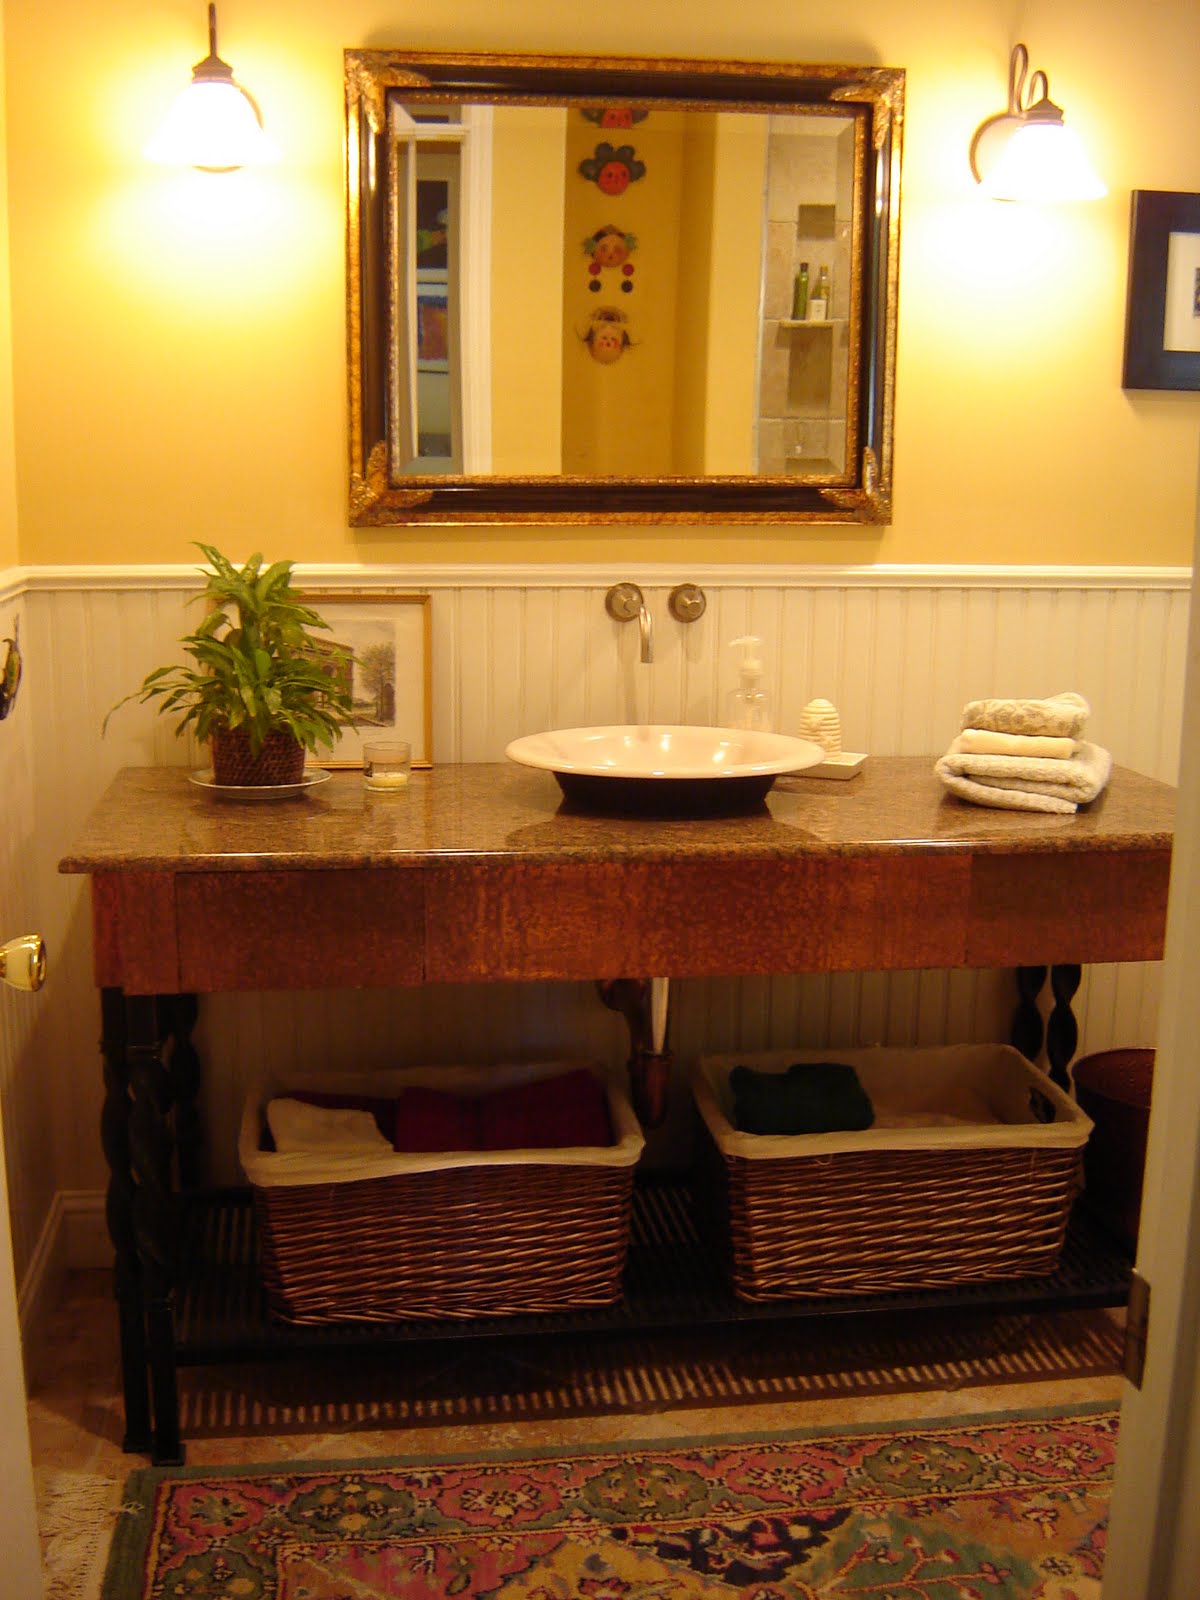
AFTER:
We added beadboard, tumbled travertine stone floors, warm paint,
a custom counter with a hammered copper apron,
and cast iron vessel sink


We relocated the new potty,
 and installed a stone tiled shower for our guests in the old toilet's enlarged space.

We improved the lighting with several options and dimmers on the switches.


The bathroom counter was custom made and has two concealed drawers in the front apron.

I hammered the copper myself.
It was a great way to get out my frustration, and I love how it looks.

I don't keep the copper polished, just let it do it's thing and it has a nice patina now.

Did I mention how much I love copper? I truly do!


Some details, up close:


The mirror frame:


The copper and iron counter with granite top:


Storage baskets beneath the counter contain extra towels.

Better than this:


Or this:

Don't you agree?

Finally, this room is done, with the addition of the roman shades I made not too long ago.

You can see more of those and get a step by step tutorial by clicking here.


That's it, the finished guest bath. It's new and fresh.
There is still plenty of room.
There is a shower and low-flow toilet.

We like it, and I don't even have the slightest urge to change anything in here yet.

Except for maybe the paint color which isn't really this dark in person,
( I'm leaning towards pale blue or some silver...)

and I did see a different vessel sink I really like...

But I won't go there....at least not for awhile!

Thanks for stopping by. Stay tuned for more ahead.
If it would just stop raining I'd get some of my other, pending projects painted and finished.

But until then I'll just be clicking away at the computer and visiting with you my blogging friends!
Leave me a comment and I'll drop by as soon as I can.
Click on Home or here to see my latest Wednesday Gratitude post, and take a walk on the beach with me!
Until next time,
XO
Heidi

This is being linked to :
and Remodelaholic meeting #19
Thank you ladies!


Sunday, April 18, 2010

How to Make Roman Shades from Mini-Blinds, at Heart and Home

Hi there! Thanks to all of you for the sweet birthday greetings. My family treated me to the best weekend! I took so many pictures that I almost ran out of memory on my camera. I will share some of them this Wednesday. We went to the beautiful gardens at Filoli, one of my favorite places! Then we headed to San Francisco, and walked the Golden Gate Bridge. The views were incredible. We had dinner in North Beach, and headed home exhausted after a great day! But you will have to come back to see pictures of that later this week! (If you're here from a Thursday link, you can see that post here.)

Today I'm sharing a project I finished several weeks ago.

Many of you have probably seen the "Roman Shades out of Mini Blinds" tutorial that's been around blogland. I remember thinking I might try that sometime. I finally replaced the paper pull-up shades that had been installed quickly as a temporary measure when we into this house ten 1/2 years ago. That is embarassing but true. In my defense, they didn't really look that bad, but still, they were paper. And getting kind of grungy. And did I mention they were paper?!!
I got busy, and wrote this tutorial with a few extra tips that I hope are helpful to you if you decide to make a shade of your own. It's kind of lengthy, but I didn't want to leave any important information out!

Here's what you need:
  • mini-blind in the correct width for your window ( the length can be adjusted to size)
  • scissors
  • measuring tape or yardstick
  • fabric, enough to cover mini-blind. Try not to use fabric that is too heavy or thick.
  • screwdriver (used to pull out "plugs" at bottom rail)
  • fabric glue (I used Fabri-tac)

I had a lot of fabric on hand. In another life and a different home the fabric would be a painter's drop cloth.  But in my home  this "faux linen" has been used to make slipcover, drapes, and now, two roman shades. I like the way it holds it's shape, has a rough-ish texture, and is the perfect color to blend with the other things around here. (The inexpensive price is not bad, either! A while ago I paid $19 for a huge cloth - enough for two shades plus tons left over.) The only thing I needed to purchase was a couple of cheap  inexpensive mini-blinds, and some fabric glue. I used "Fabri-tac".  It works great, but it cost almost as much as the fabric.
 
 
 These are the steps:
  • Measure window, determine size of fabric needed
  • Fold and iron in sides, top and bottom of fabric to size
  • Prepare mini-blind (see *** below!)
  • Glue fabric to mini-blind "skeleton"
  • Hang shade
Here's how I did it:
First I measured my window, decided on a length that would come just to the window sill, and cut fabric about 4" wider for the sides, and about 6" longer than the finished size.

Then I folded and ironed in the extra fabric at the sides, top and bottom of the fabric. (I ironed it instead of marking it to create even, easy to see guidelines).  Then I opened up the ironed sides and stitched a trim to the front of the fabric that I had measured and cut into 2" wide strips the length of the finished shade. I stitched it into place about 1/2" from the edge of the main shade fabric. I like how the trim gave a more finished appearance to the shades, and I think it added a nice detail.
That step is optional!


***Next, I opened up a mini-blind, layed it on the floor and took off the extra slats and shortened it to the desired size. To do this the bottom "stoppers" need to be popped off, the string untied, and the bottom rail taken off. Then the ladder string, which is the thin string that holds the slats in place, needs to be cut and removed. It is important that only the ladder string is cut. The thicker string is the one that pulls the shade up and down. Do not cut that one!! It's pretty obvious which is which when you look at the shade and how it works. (Hint: the ladder string looks like a ladder!)


To determine how many slats you will keep and use, divide the length of your shade by how big a fold you want. The bigger the fold, the less slats you will use. Also, a bigger fold hangs down on the window more when the shade is pulled up, but less folds stack more closely against the window. I determined I needed 7 folds, 7" wide (49" length divided by 7" = 7 slats left on the string.) With the ladder string and the bottom rail removed, the slats slide right off the thicker string. Just pull the ones you don't need off, which will be most of them.

Once the extra slats are removed re-thread the thicker string through the holes in the bottom rail, and retie the string. Put the plugs back in the holes. Now the shade should be the correct length.

Pick up the shade and lay the prepared fabric, wrong side up, on your work surface (I used the floor). Place the shade on top of the fabric, and spread the slats out to where you want them. In my case, they were 7" apart. Make sure they are nice and straight!  I put the slats with the rounded side down on the wrong side of the fabric, for more surface to glue to. I measured the space between each slat, and then took a look at the whole thing before I started to glue.
It looked good to me, so I glued each slat to the fabric, starting at the first one below the top rail and working my way down. I put the glue on each slat in a long serpentine line, making sure not to glue the string to the fabric or the slats, and I rechecked often to make sure the slats were straight because they moved around while I was on the floor glueing. But it didn't take long before they were all glued in place. 


When this step was done, I glued the sides of the fabric over the ends of the slats, all the way up each side of the shade, along the fold and nice and straight. (I double-folded the sides of the fabric so there wouldn't be any rough edges showing on the wrong side of the shade - first fold in 1/4", then fold in the remainder. This gives a much more finished appearance to the shade)


Next, I wrapped the fabric around and over the top of the top rail, and glued it in place, making sure to leave the sides near the string free. The sides on the top rail need to be accessible, with no fabric on them, in order for the mounting hardware to fit. The fabric in those spots can be glued in place if it's too loose, after the shade is hung. Then I  glued the entire bottom rail in place after wrapping the fabric up and over it.  The glue I used dried really fast. After just a few minutes drying time, each shade was ready to hang. I didn't like the way the pull string fell behind the fabric. It was hard to find when the shade was down, and more difficult to use. To fix the problem I cut a small X in the fabric on top of the hole where the string came out the top rail. I glued the X pieces of the fabric back to the underside, and brought the pull string out through the hole. Now it is easily accessible at the front of the shade, and works perfectly. If you don't like seeing the hole on the front of the shade, you could attach a loose fabric valance to the front top of the shade.


After the shade hardware is installed, the shade can be hung.  If the fabric on the top rail puckers or sticks out where it wasn't glued, glue it down now. Once the shade is hung, pull the it all the way open, and help the fabric to fold in place correctly. Smooth it down, and pull the shade up and down a few times, refolding and smoothing each time if necessary. After the first few times up and down the fabric will fold all by itself just like it should. It has a sort of "fabric memory!"

Shade in raised postition:
 (No, the walls aren't orange in here!
 They just look that way in these pictures because it's a little dark in here!)

lowering the shade:

shade in lowered postition:


detail of trim on edges of shade:
There you have it:  complete instructions on how to make a roman shade from basic, inexpensive mini-blinds. I hope you found these easy to understand! If you have any questions please e-mail me, I'll be happy to clarify or expand on these directions. The process is really quite simple and it's very satisfying  to make something from nothing, for very little money. Good luck!

Thanks for visiting today, I'm always so happy you stopped by. Leave me a comment and let me know what you think of these. I hope you'll be back soon.  I'll share some of the pictures of my fabulous birthday weekend in a few days.

Until next time,
XO
Heidi

I'm linking to Metamorphosis Monday,  DIY Day, Trash to Treasure, Transformation Thursday, and Thrifty Treasures. Thank you everyone!